Remove a white background
Make the white behind an object transparent, and see in advance what happens when the object is white too.
The short answer: a coloured object on white is one of the easiest cases and usually comes out clean. A white object on white also gets cut out, but its white parts may end up slightly see-through. You will not notice that on a light page, and you will on a dark one, so always check the result over black before you use it.
Coloured object on white: clean
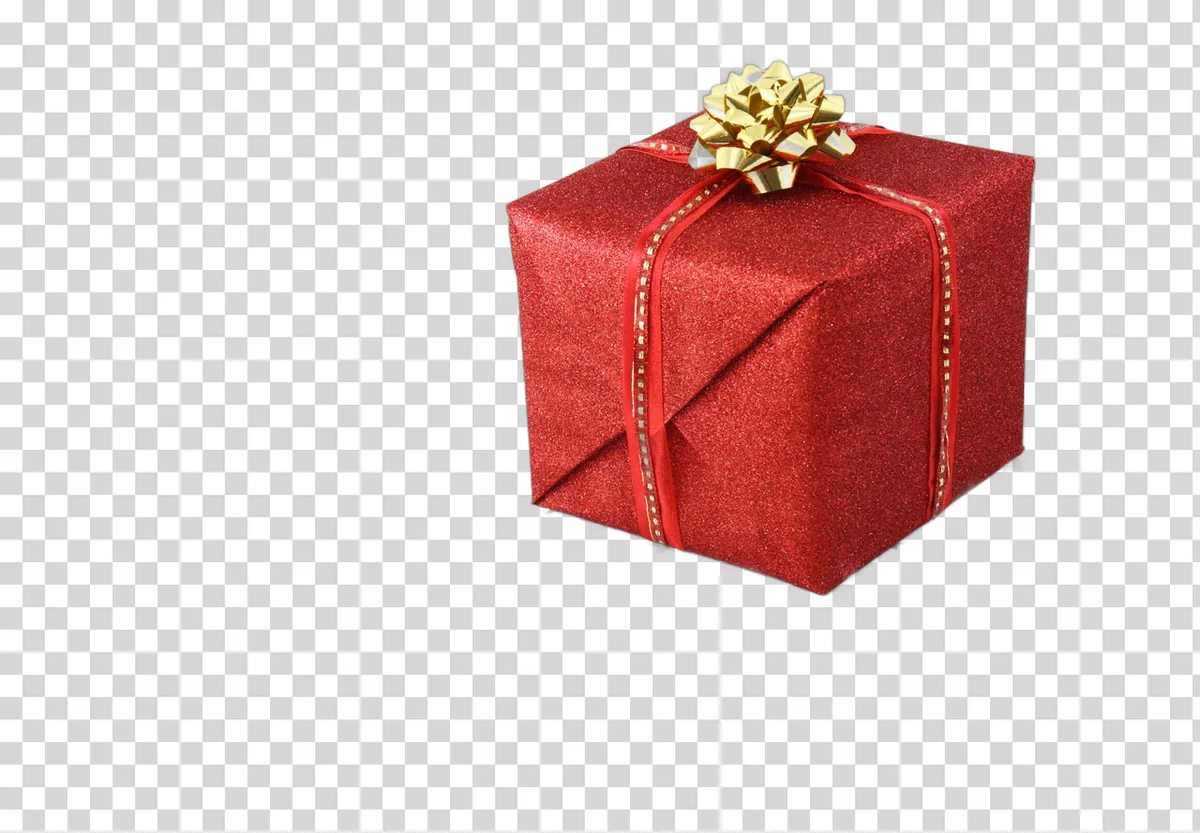
A red gift box with gold ribbon, shot on seamless white with some confetti around it. The box, the bow and the shine on the ribbon were kept at full opacity. The confetti was removed together with the background, which is what you would want for a product shot.
 Original
 Result
White object on white: partly see-through
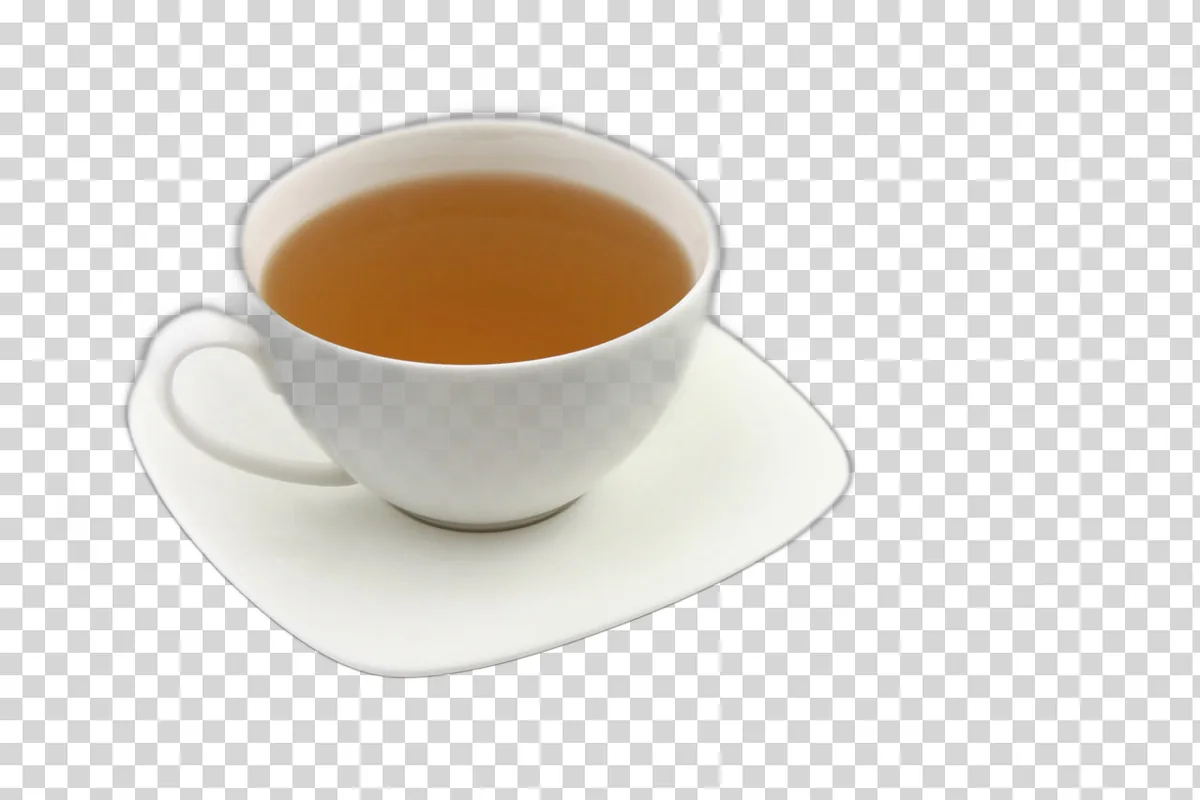
A white porcelain tea cup on a saucer, on white. The outline was found correctly, and nothing that belongs to the cup was cut away. But the model was less sure about the white porcelain than about anything else in the picture, and the opacity shows it:
- The tea and the gold rim are at full strength, the same as any solid object.
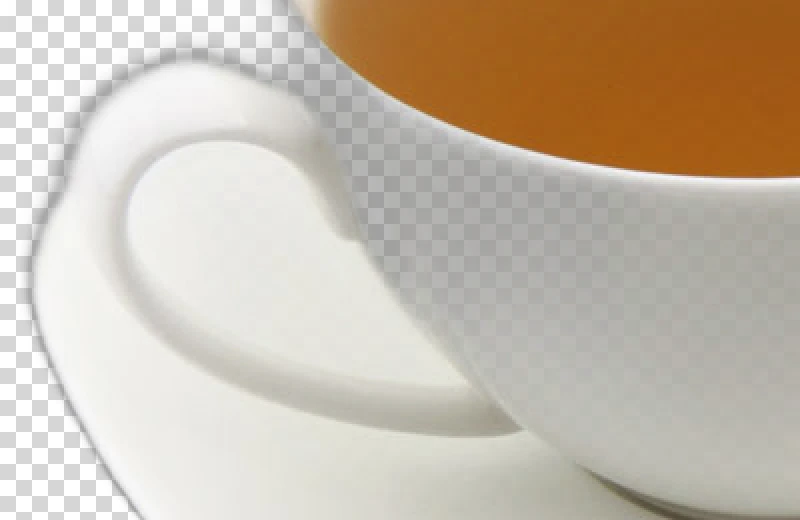
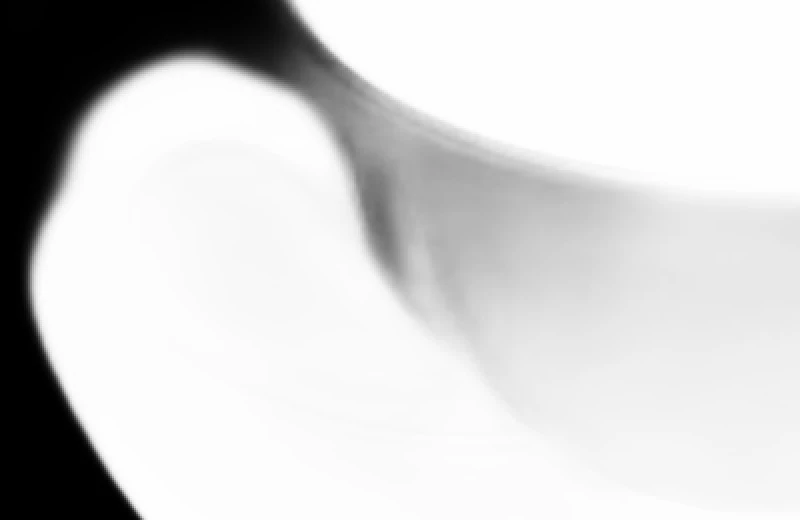
- The handle loop is at about 97%.
- The white wall of the cup is between 83% and 96% opaque, about 92% on average.
- The saucer is 93% fully opaque, with a soft halo along its outer edge.
 Original
 Result
 Result
 Mask
Why does this happen? The model decides pixel by pixel how likely each one is to be the object. Where the object and the background have the same colour, the only clues are shading and the shape around it, so the answer comes out as "very likely" rather than "certain". The PNG records that doubt as partial transparency.
When the partial transparency matters
| Where you put the cutout | White object at 92% opacity |
|---|---|
| White page, white marketplace background | Looks identical to the original |
| Light grey or pastel slide | Barely visible tint |
| Dark slide, black web page | Object looks grey and dull |
| Busy photo background | Faint ghost of the background in the white areas |
If you only need the product on white, the simplest route is to choose white on the result page and download that version: the see-through areas are filled with white and the problem disappears. For a dark background, an editor fix works: duplicate the cutout layer and stack the copies, or paint the inside of the object fully opaque in its mask.
Tips for white on white
- Add a little contrast when shooting. A light grey background instead of pure white gives the model a clearer edge for white objects.
- Keep the shadow side visible. A soft side light that shades one side of a white object helps more than flat, shadowless light.
- Check over black. The result page lets you switch the background to black in one click. That is where missing density shows.
Questions people actually ask
- Is removing a white background different from removing any other background?
- Not for the model. It does not look for white pixels and delete them, it finds the main object and removes everything else. A white background is simply one of the easier cases, as long as the object itself is not white.
- Why not just use a magic wand or a colour key on white?
- A colour key removes every pixel close to white, including highlights, white labels and white parts of the object. It also leaves a hard, jagged edge. The model keeps white areas that belong to the object and gives a soft edge, though it can still make white parts slightly see-through, as the tea cup on this page shows.
- My white object looks fine on white but grey on a dark slide. Why?
- Its pixels were kept at around 90% opacity instead of 100%. On white that is invisible, because white shows through white. On a dark background the dark colour shows through and the object looks dull. Placing a solid white copy of the shape underneath in an editor fixes it, or use the photo only on light backgrounds.
- Can I remove a white background from a logo?
- Often, yes, especially for a logo with strong colours. White areas inside the logo can come out partly see-through, the same way the white tea cup did. If the logo exists as a vector file, using that is always cleaner than cutting out a picture of it.
Written and maintained by Denis. Last updated: November 2, 2026